Driving nails may seem like a straightforward task, but for many DIY enthusiasts, it can quickly turn into a frustrating experience of bent nails and smashed fingers. However, there’s a simple technique that can elevate your nail-driving game to pro level – the Hammer Dance
What is the Hammer Dance?
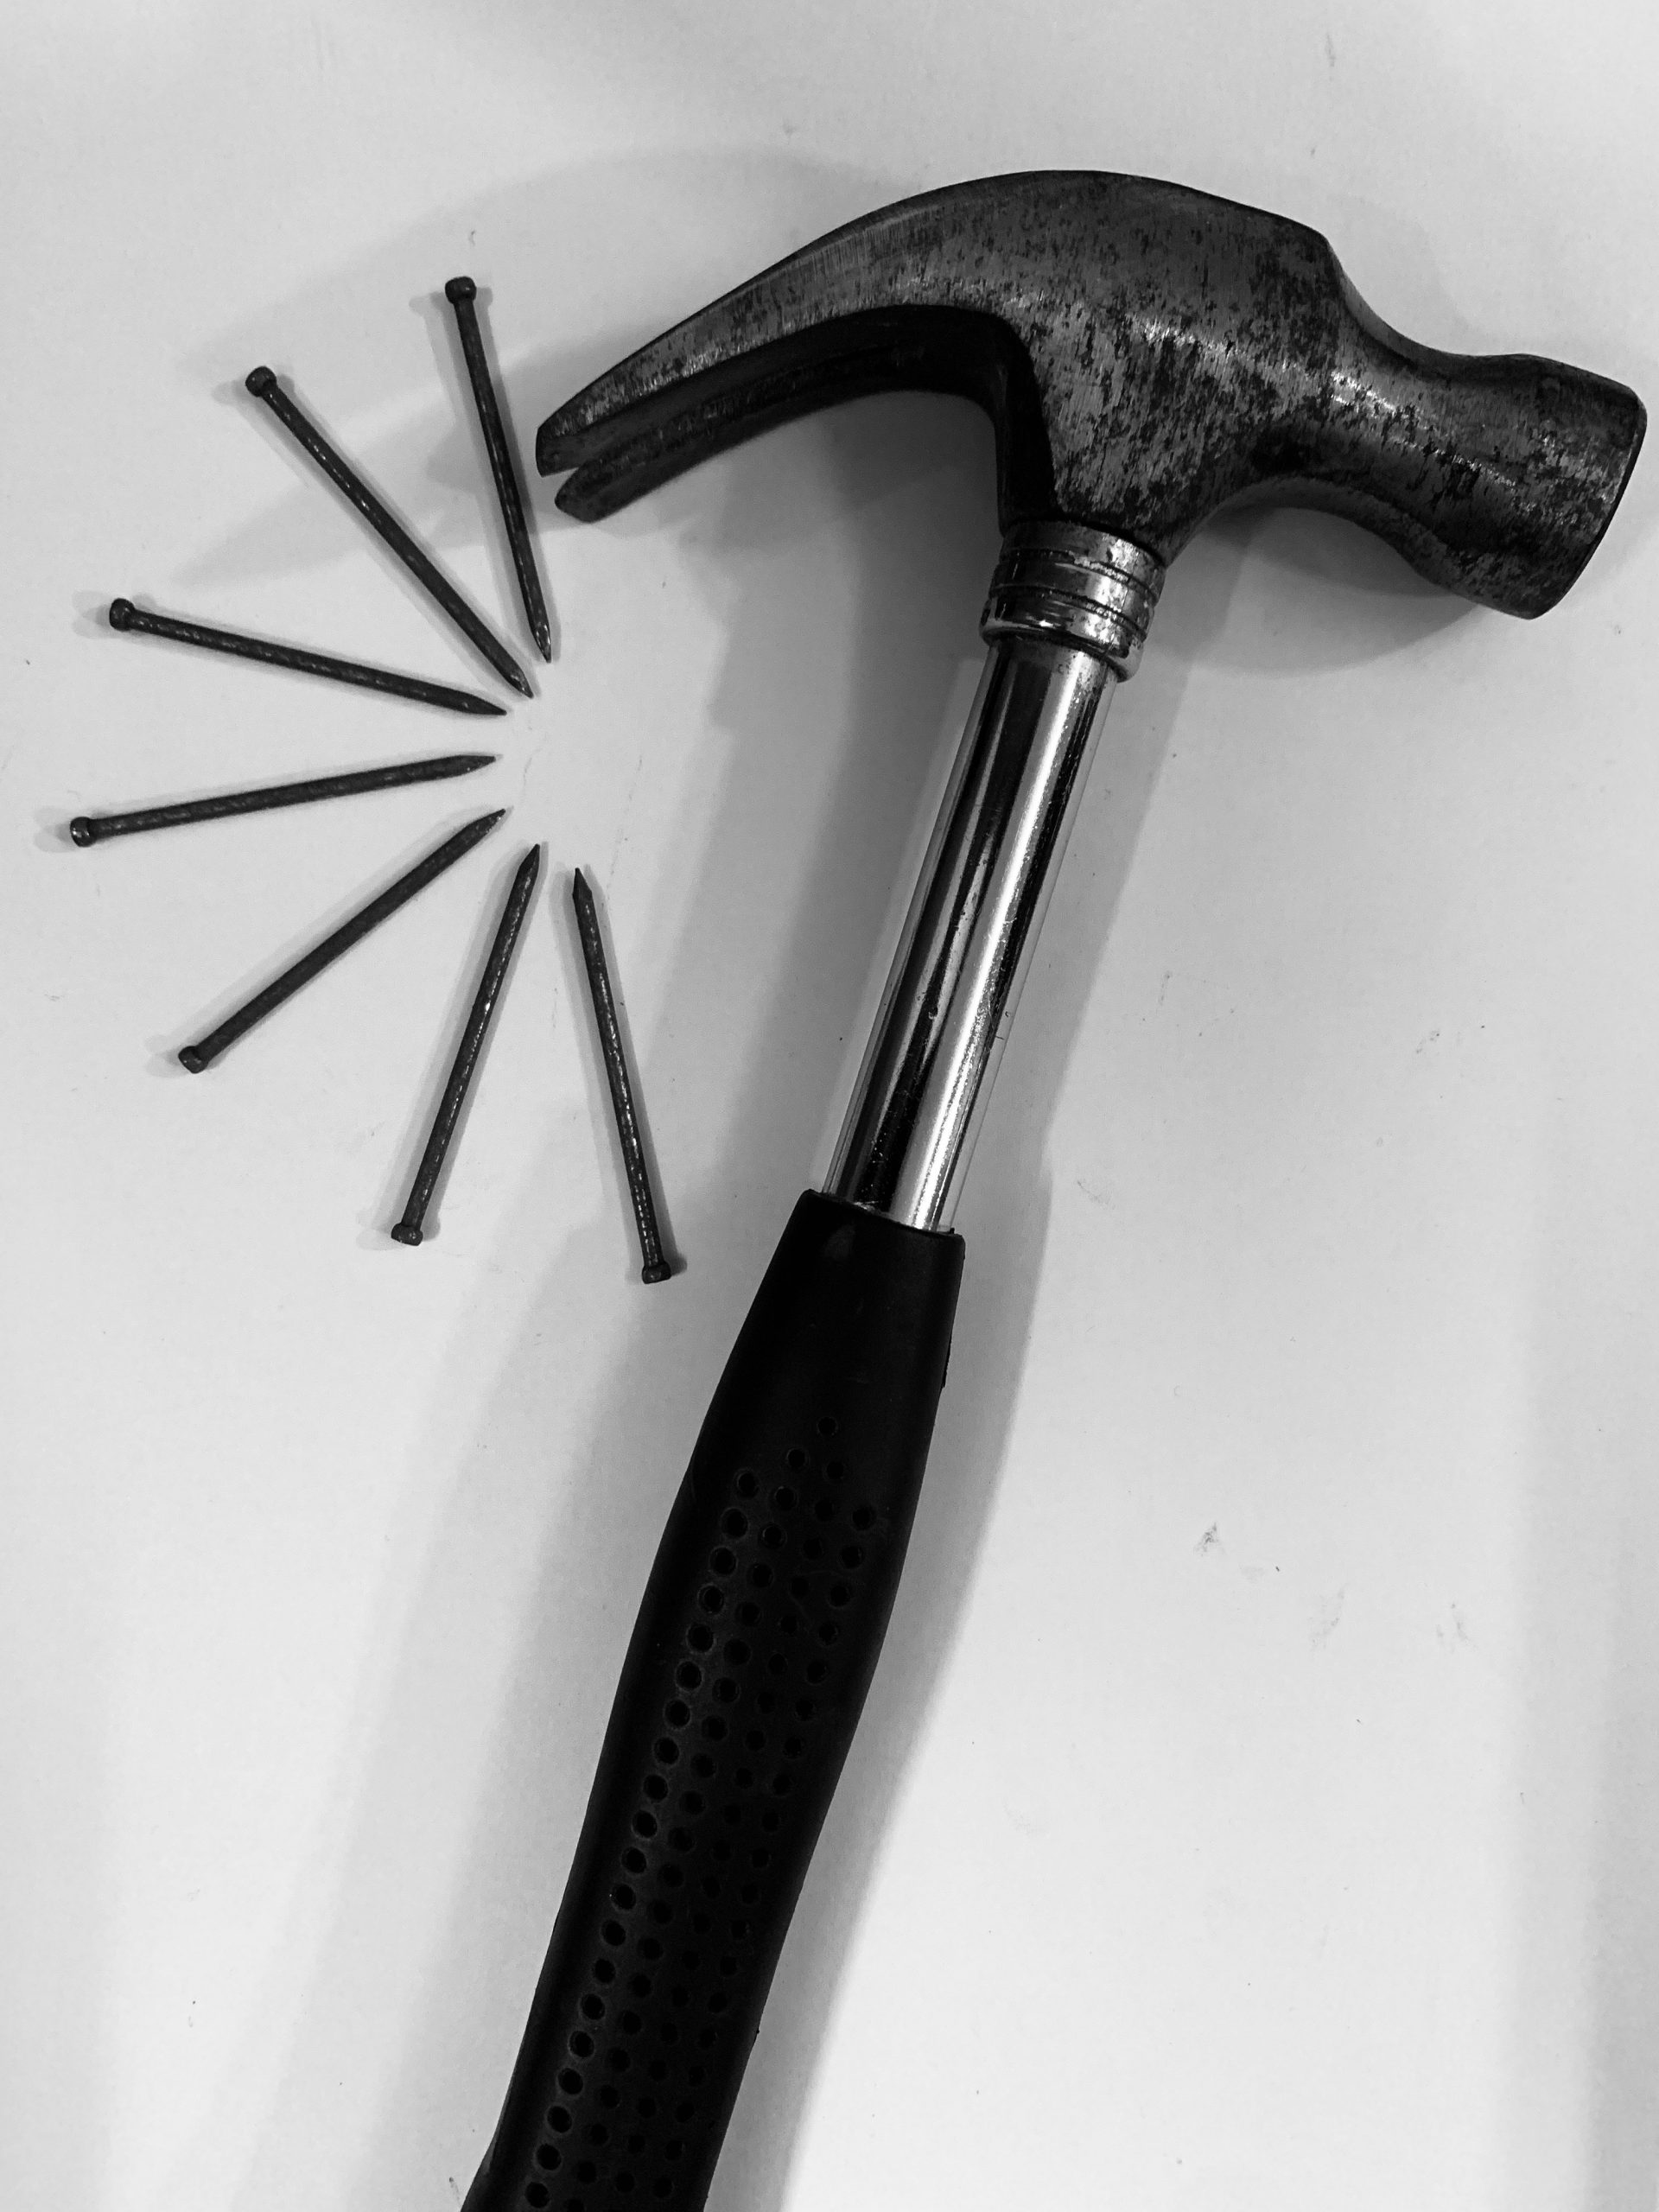
The Hammer Dance is a technique that involves holding the hammer closer to the end of the handle rather than gripping it tightly near the head. This adjustment in grip provides better control and accuracy when driving nails, resulting in fewer bent nails and more precise placement.
Why is the Hammer Dance Effective?
When you grip the hammer closer to the end of the handle, you gain more leverage and control over the hammer’s swing. This allows for smoother and more controlled movements, reducing the likelihood of over-swinging or missing the nail altogether. Additionally, holding the hammer further from the head reduces the risk of accidentally striking your fingers or hand.
Tips for Mastering the Hammer Dance:
- Find the Right Grip: Experiment with different hand placements along the handle until you find a grip that feels comfortable and provides optimal control. Remember, the goal is to maintain a relaxed grip to allow for fluid movements.
- Relax Your Grip: Avoid gripping the hammer too tightly, as this can impede your ability to swing smoothly. Instead, maintain a relaxed grip to allow for fluid movements.
- Focus on Aim: Concentrate on aiming the hammerhead directly at the nail’s head before making contact. Visualize your target and align the hammer accordingly.
- Use Controlled Movements: Rather than swinging wildly, focus on making controlled and deliberate movements with the hammer. This will help you maintain accuracy and prevent unnecessary strain on your muscles.
- Practice Makes Perfect: Like any skill, mastering the Hammer Dance takes practice. Start with small, simple projects to hone your technique before tackling larger tasks.
- Consider the Angle: When driving nails, consider the angle at which you hold the hammer. For vertical nails, aim for a straight-on approach, while angled nails may require a slight tilt of the hammer.
- Utilize the Claw: The claw of the hammer isn’t just for pulling nails; it can also be used to adjust the position of the nail or tap it into place before driving it fully.
- Control the Force: Adjust the force of your swings based on the size of the nail and the hardness of the material you’re driving it into. Light taps may be sufficient for smaller nails or delicate materials, while larger nails or harder surfaces may require more force.
- Maintain Balance: Keep your body balanced and stable while driving nails to ensure accuracy and prevent injury. Plant your feet firmly on the ground and distribute your weight evenly.
- Take Breaks: Driving nails can be physically demanding, so be sure to take regular breaks to rest your muscles and prevent fatigue. Listen to your body’s cues and avoid overexertion.
By mastering the Hammer Dance technique, you can elevate your nail-driving skills and tackle DIY projects with confidence and precision. Remember to focus on grip, aim, and controlled movements, and don’t be afraid to practice until you perfect your technique. With a little patience and dedication, you’ll be nailing it like a pro in no time!
Ready to put your Hammer Dance skills to the test? Grab your hammer and get ready to tackle your next project with confidence and precision!
Get Started with Garage101 and nail your DIY projects like a pro!


