As the vibrant hues of autumn surround us, November is the perfect time to embrace the season’s beauty and bring a touch of it to our homes. One of the most charming ways to do this is by crafting a DIY fall wreath for your front door. With natural materials like pinecones, dried leaves, and mini pumpkins, a fall wreath adds warmth and a welcoming feel to your entryway, setting the tone for a cozy season.
Creating a fall wreath is easier than you might think, and it’s a wonderful way to personalize your decor. Whether you prefer a rustic look or a more modern design, there are countless ways to get creative with seasonal elements. This guide will walk you through three different wreath styles—rustic, natural, and modern—and provide tips for crafting, hanging, and maintaining your beautiful DIY wreath.
Gathering Materials for Your Fall Wreath
Before diving into the styles, let’s cover the essential materials needed for crafting a fall wreath. You’ll be surprised at how versatile and inexpensive this project can be, especially if you gather some materials from nature.
Basic Supplies
- Wreath Form: A wire, foam, or grapevine wreath form will serve as the base. Grapevine wreaths are especially popular for fall, as they add a rustic touch.
- Hot Glue Gun and Glue Sticks: Essential for securing your decorations.
- Floral Wire: Useful for attaching heavier items like mini pumpkins or pinecones.
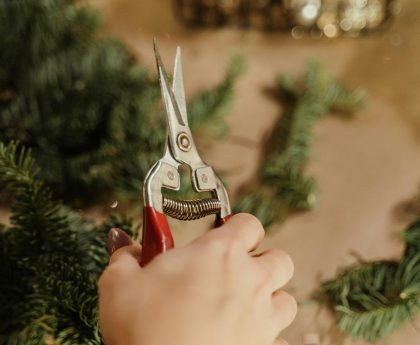
- Scissors: For trimming and shaping materials.
- Ribbon: Choose colors like deep red, mustard yellow, or burnt orange for a fall look.
Seasonal Elements
Here are some autumnal decorations you can use to bring texture, color, and character to your wreath:
- Pinecones: Add a rustic touch and are easy to find outdoors.
- Dried Leaves: Look for red, orange, and yellow leaves. You can also dry leaves yourself by pressing them between sheets of wax paper.
- Mini Pumpkins or Gourds: These can be real or artificial and make an adorable addition to any wreath.
- Dried Flowers: Such as sunflowers, marigolds, or mums to add warmth.
- Berries: Artificial berries like cranberries or bittersweet add a pop of color.
- Twigs and Branches: Small branches give your wreath a natural look and add structure.
- Moss: Adds a unique texture and fills in spaces between other elements.
Now that you have your materials, let’s dive into some styles and how to make each one!
Style 1: Rustic Fall Wreath
The rustic style is all about earthy tones, rough textures, and a cozy, country feel. This wreath is perfect if you love the charm of a country farmhouse.
Steps to Make a Rustic Wreath:
- Wrap the Wreath Form: Start by wrapping your grapevine or wire wreath form with burlap or a muted-colored ribbon for a natural base.
- Add Pinecones and Twigs: Use floral wire or hot glue to secure pinecones and small twigs onto the wreath. Position these around the base to add texture and volume.
- Attach Mini Pumpkins: Attach one or two mini pumpkins on the lower half of the wreath to give it a focal point. Make sure they’re secure by using floral wire.
- Incorporate Dried Leaves: Tuck dried leaves between the pinecones and pumpkins, using hot glue to keep them in place. This will create layers of color and add a soft, natural look.
- Add a Ribbon Bow: Tie a bow with a burlap or gingham ribbon and attach it to the top or bottom of the wreath for an extra touch of rustic charm.
Tips:
- Arrange elements in clusters for a balanced look.
- Stick to a neutral color palette with pops of orange and red for an authentic rustic vibe.
Style 2: Natural Fall Wreath
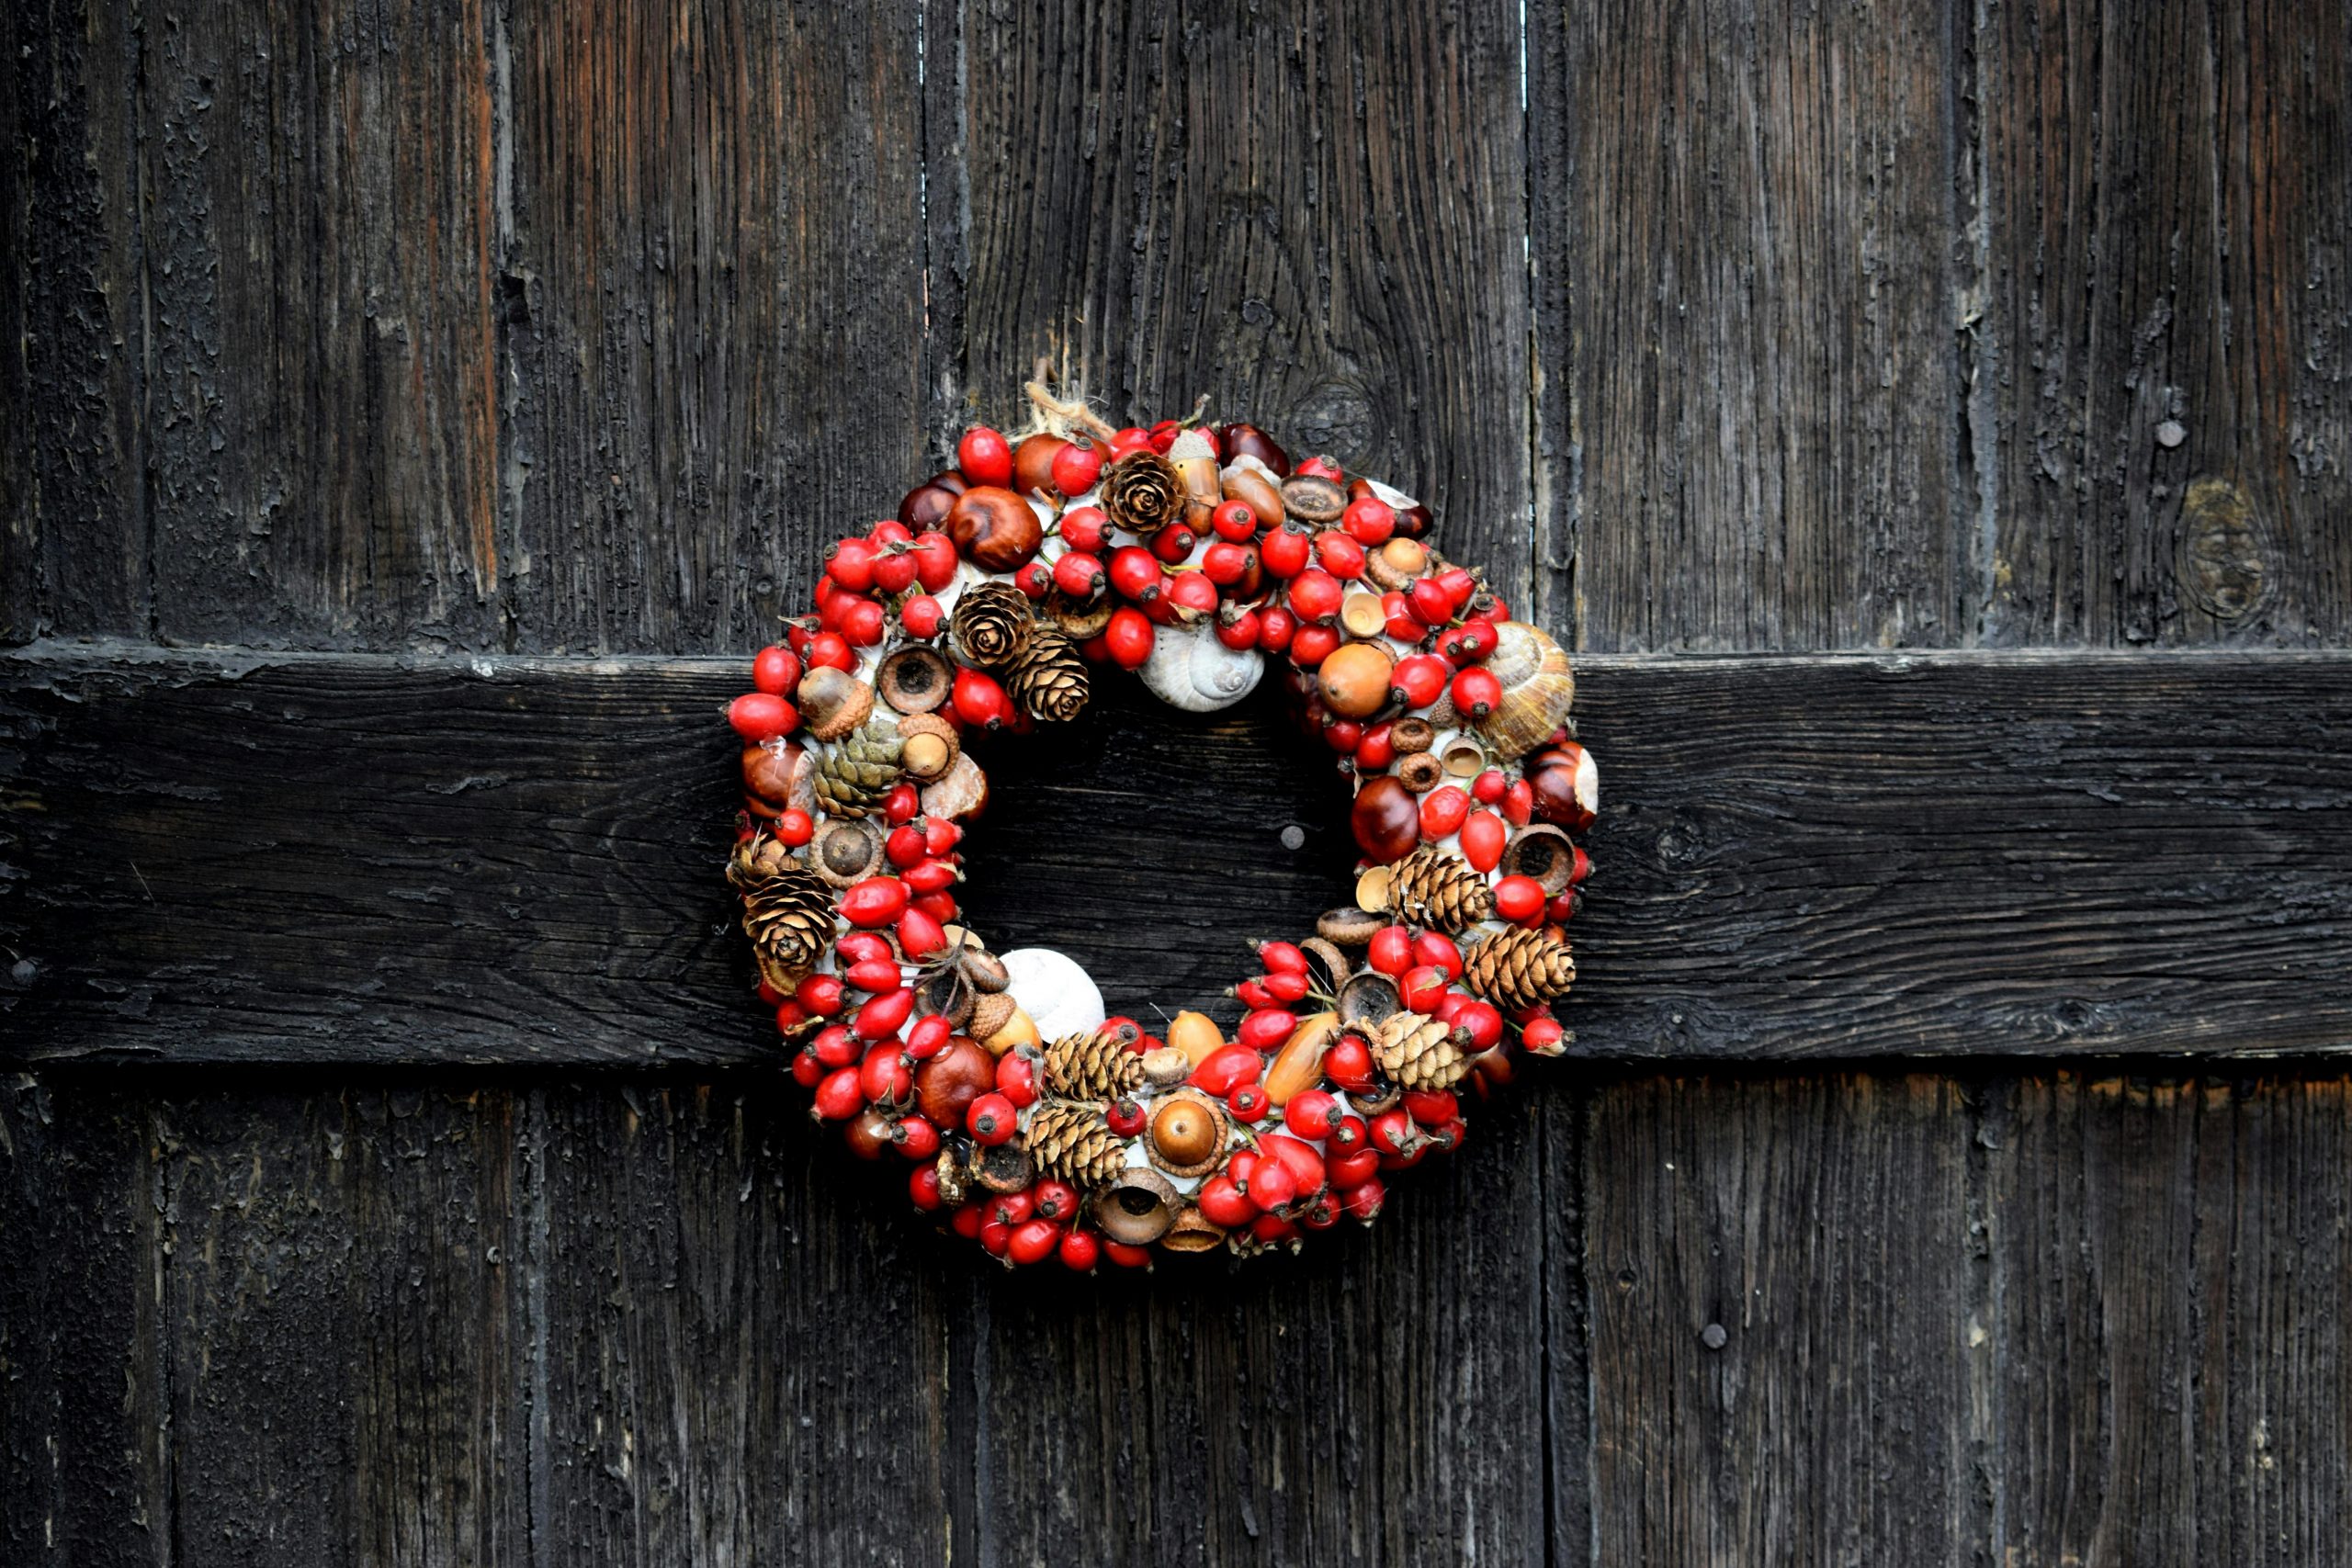
A natural wreath uses seasonal elements to capture the beauty of fall in an organic way. This style embraces asymmetry and a slightly wild look, mimicking the natural arrangement of materials in the outdoors.
Steps to Make a Natural Wreath:
- Layer Moss on the Wreath Form: Start by covering your wreath form with moss for a base that adds softness and texture. Secure it with hot glue or floral wire.
- Add Branches and Twigs: Arrange small branches and twigs around one side of the wreath, allowing them to extend out for a more organic, unstructured look.
- Attach Dried Flowers and Berries: Place dried flowers like sunflowers or mums on one side of the wreath. Add clusters of artificial berries near the flowers to bring depth and color.
- Incorporate Pinecones and Acorns: Place pinecones and acorns around the wreath, focusing on the side with the twigs and flowers. Secure with hot glue.
- Finish with a Raffia Bow: Tie a small bow with natural raffia and attach it to the opposite side of the main decorations for a balanced, natural look.
Tips:
- Keep some areas of the wreath base exposed for a rustic, minimal effect.
- Vary the sizes of flowers, berries, and twigs to create depth and visual interest.
Style 3: Modern Fall Wreath
For a more contemporary look, a modern fall wreath uses minimal elements with clean lines and geometric shapes. This design is ideal if you prefer a more refined, less traditional style.
Steps to Make a Modern Wreath:
- Paint the Wreath Form: Spray paint your wreath form in a matte metallic color, such as gold or copper, for a sophisticated base.
- Add Geometric Shapes: Cut small shapes (like triangles or circles) out of cardstock or foam. Attach them to the wreath form in clusters, either on one side or spaced evenly around the wreath.
- Use Minimal Foliage: Select a few sprigs of eucalyptus or minimalist greenery, and attach them in a small cluster on one side of the wreath for a clean, sleek look.
- Incorporate Faux White Pumpkins: Add small faux white pumpkins or gourds near the greenery for a subtle nod to fall.
- Attach a Simple Ribbon: Choose a thin, satin ribbon in a neutral color and tie it at the top for hanging, avoiding any big bows or embellishments.
Tips:
- Less is more! Stick to a simple color scheme and minimal decorations.
- Keep decorations clustered in a single area of the wreath for a balanced, modern look.
Hanging and Maintaining Your Wreath
Once your wreath is finished, it’s time to display it proudly on your front door. Here are some tips to help you hang and maintain your beautiful creation.
Hanging Tips
- Use a Wreath Hanger: Wreath hangers are easy to use and prevent damage to your door.
- Command Hooks: If you prefer a hidden option, use clear Command hooks on the back of your door to support the wreath.
- Ribbon Loop: Tie a loop of ribbon around the top of the wreath and hang it over a hook for a more decorative approach.
Maintenance Tips
- Keep It Dry: Avoid hanging the wreath in direct rain or snow. If possible, place it in a covered area or bring it indoors during extreme weather.
- Spray with Sealant: Use a clear spray sealant on natural elements like leaves or flowers to help preserve them.
- Store Properly: When fall ends, store your wreath in a cool, dry place. A wreath storage bag or a large box can help protect it from dust and damage.
Creating a DIY fall wreath is a fun, creative way to celebrate the season and add a personal touch to your home’s exterior. Whether you go for a rustic, natural, or modern look, the possibilities are endless with seasonal materials like pinecones, dried leaves, and mini pumpkins. Not only will you have a beautiful wreath to enjoy throughout November, but you’ll also gain the satisfaction of crafting a unique piece by hand.
With these easy steps, you’re all set to make a gorgeous fall wreath that brings November’s colors right to your front door. So gather your supplies, get inspired by nature, and enjoy the cozy warmth that your homemade wreath will bring to your home this season!


