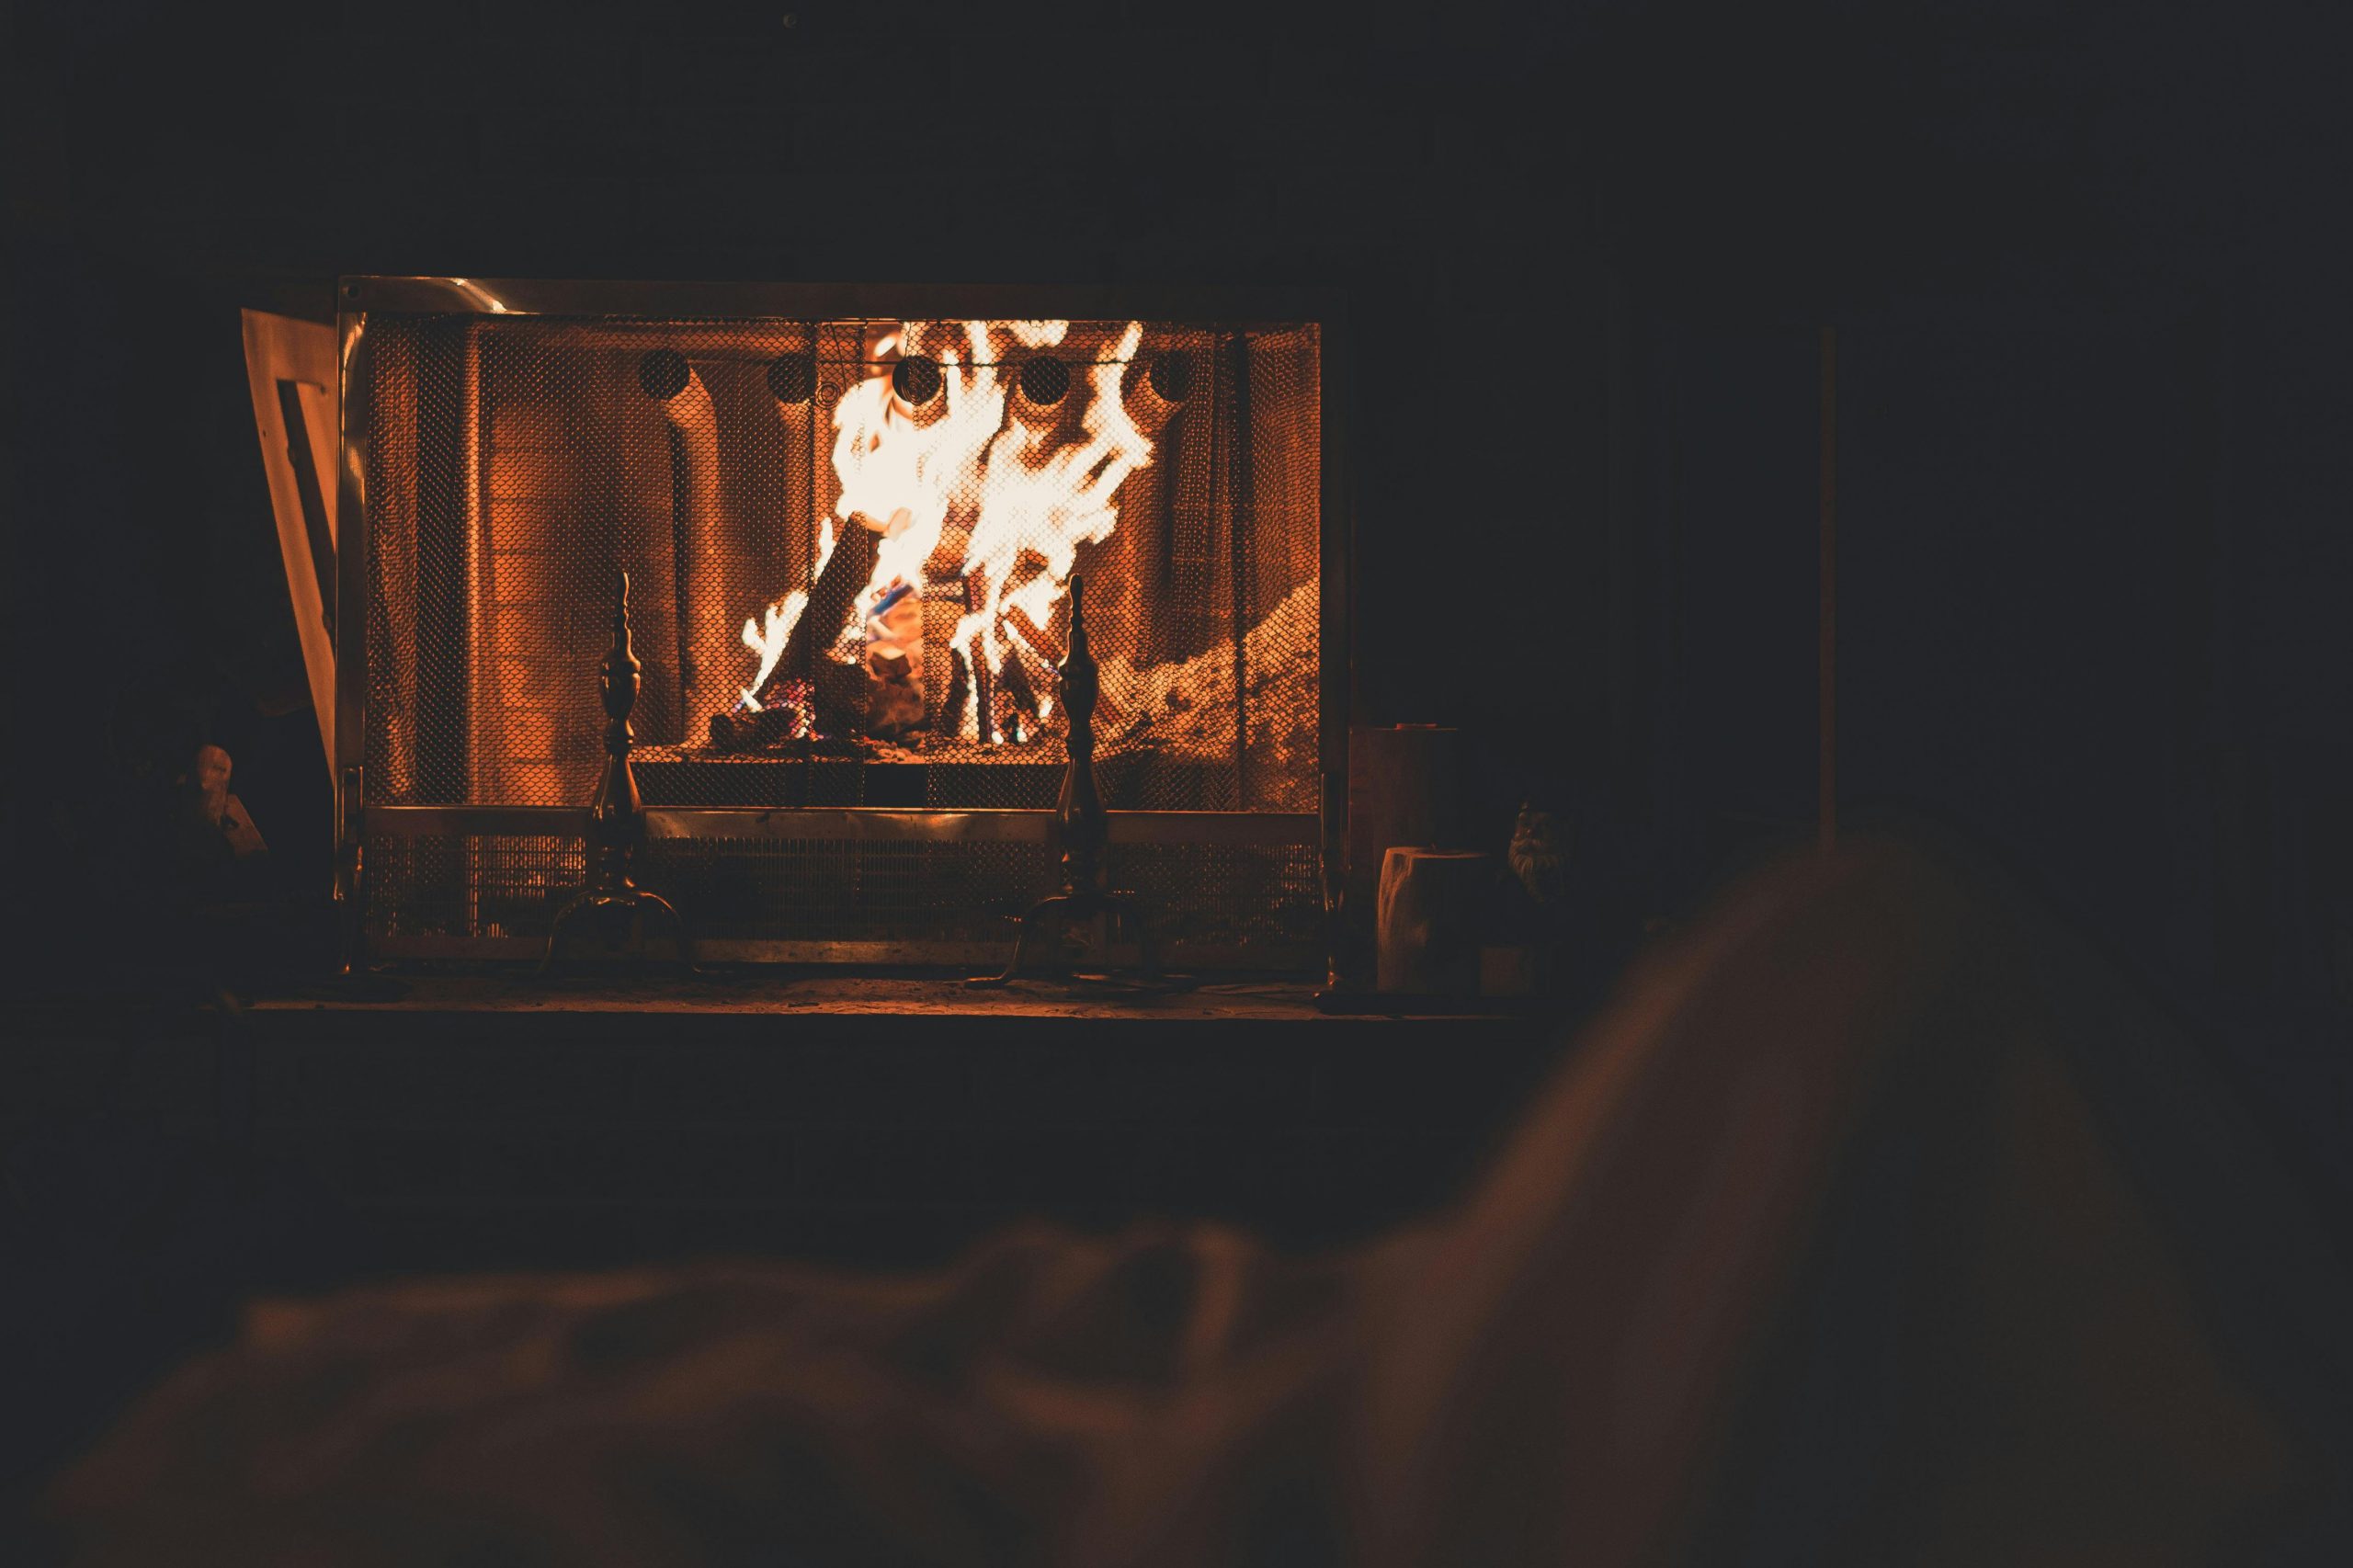
As the colder months approach, there’s no better place to gather than around a cozy fireplace. But if your fireplace is looking outdated or lacking personality, it might be time for a DIY makeover. A well-designed fireplace can serve as a beautiful focal point in your living space, providing both warmth and style. Fortunately, with a few simple updates, you can transform your fireplace into an inviting centerpiece that complements your decor and elevates your room’s aesthetic.
In this blog post, we’ll explore a variety of DIY ideas for giving your fireplace a fresh look. From painting the surround to adding a mantel or creating built-in shelves for firewood storage, these projects are achievable even for beginner DIYers and can make a big impact in your home. Let’s dive into some creative ways to enhance your fireplace and make it a cozy focal point this winter.
1. Painting the Fireplace Surround
One of the easiest and most budget-friendly ways to update a fireplace is by painting the surround. If your fireplace surround is looking worn or dated, a fresh coat of paint can instantly refresh it and bring new life to your space.
Materials You’ll Need:
- Heat-resistant paint
- Painter’s tape
- Drop cloths or plastic sheeting
- Brushes and rollers
- Sandpaper (if needed)
Steps to Painting the Fireplace Surround:
- Choose the Right Paint: Use heat-resistant paint specifically designed for fireplaces to ensure it can withstand the high temperatures. If you’re painting a brick or stone surround, choose a paint type suitable for masonry.
- Prep the Area: Cover the floor around your fireplace with a drop cloth and use painter’s tape to protect any areas you don’t want painted, such as the fireplace insert or mantel.
- Sand if Necessary: If the surface is uneven or glossy, sand it lightly to help the paint adhere. Wipe away any dust after sanding.
- Apply Primer (Optional): For porous surfaces like brick or stone, a primer can help the paint go on smoothly and last longer.
- Paint the Surround: Use a brush for detailed areas and a roller for larger, flat surfaces. Apply one or two coats, allowing each coat to dry before applying the next.
- Let it Dry Completely: Once the final coat is dry, carefully remove the painter’s tape and enjoy your newly painted fireplace.
Ideas for Paint Colors:
- Bold Black: A black surround gives a sleek, modern look and works well with both traditional and contemporary decor.
- Classic White: White is timeless and can brighten up a room, making it feel open and airy.
- Warm Neutrals: Shades like taupe, beige, or gray add warmth and pair well with natural elements like wood and stone.
2. Adding a Mantel
A fireplace mantel is a great addition if you don’t already have one. It provides a place to display decorative items, photos, or seasonal decor, allowing you to personalize your space. Installing a mantel is a relatively simple DIY project that can add character and functionality to your fireplace area.
Materials You’ll Need:
- Wooden mantel or mantel kit
- Drill and screws
- Stud finder
- Level
- Measuring tape
Steps to Adding a Mantel:
- Choose the Style and Size: Select a mantel that complements your decor. Rustic wood mantels are popular for a farmhouse look, while a sleek, painted mantel may suit a modern aesthetic.
- Find the Studs: Use a stud finder to locate the studs above your fireplace. Mark these spots, as they’ll be needed for secure mounting.
- Mount the Mantel: Hold the mantel in place and check that it’s level. Drill pilot holes through the mantel and into the studs, then secure it with screws.
- Decorate Your Mantel: Once the mantel is up, decorate it with candles, vases, framed artwork, or seasonal decor to create a warm and inviting look.
Mantel Decor Tips:
- Vary Heights: Use decor of varying heights to add visual interest.
- Seasonal Decor: Change the decor with the seasons, adding garlands or ornaments in the winter or fresh greenery in the spring.
- Balance and Symmetry: Arrange items symmetrically for a classic look or asymmetrically for a more relaxed, modern feel.
3. Creating Built-In Shelves for Firewood Storage
Adding built-in shelves next to your fireplace is a functional way to store firewood while enhancing the visual appeal of the space. Not only does this create a cozy, rustic vibe, but it also makes it convenient to store firewood close at hand.
Materials You’ll Need:
- Wooden planks or pre-cut shelves
- Brackets or support beams
- Drill and screws
- Measuring tape
- Level
Steps to Creating Built-In Shelves:
- Measure the Space: Decide on the size of the shelves based on the space available next to your fireplace. Measure carefully to ensure they fit properly.
- Choose Materials: Sturdy wood like oak or pine works well for firewood shelves, as they can support the weight of stacked logs.
- Install the Brackets or Supports: Mark the spots where the shelves will go, making sure they’re level. Drill in brackets or supports that will hold the shelves in place.
- Add the Shelves: Secure the wooden planks onto the brackets or supports, checking that they’re level and securely fastened.
- Load the Firewood: Stack your firewood on the shelves, arranging it neatly for an organized look.
Firewood Storage Tips:
- Use Dry Wood: Only store seasoned, dry wood to prevent mold and insects.
- Alternate Directions: Stack some logs horizontally and others vertically for visual variety.
- Accessorize the Shelves: Add a few decorative items like lanterns or plants to soften the look and create a cozy atmosphere.
4. Adding a Tile Surround
If you’re looking for a more transformative update, consider adding tile around your fireplace. Tile comes in a variety of colors, shapes, and textures, making it easy to customize the look to suit your decor. This project requires some time and precision, but the results are well worth it.
Materials You’ll Need:
- Heat-resistant tiles
- Tile adhesive
- Grout and grout float
- Tile spacers
- Tile cutter
- Level
Steps to Adding Tile:
- Choose the Tile: Select tiles that match your style, such as classic subway tiles for a modern look or mosaic tiles for a more intricate design.
- Prepare the Surface: Clean the surface of the fireplace surround, making sure it’s smooth and free of dust.
- Apply Tile Adhesive: Spread adhesive on the area you’re tiling, working in small sections. Press each tile into place, using spacers for even spacing.
- Cut Tiles as Needed: Use a tile cutter to trim tiles to fit around edges or corners.
- Apply Grout: Once the adhesive is dry, remove the tile spacers and apply grout with a grout float. Wipe away excess grout with a damp sponge.
- Let it Cure: Allow the grout to cure for the recommended time before using the fireplace.
Tile Ideas:
- Patterned Tiles: Moroccan or encaustic-style tiles can add a vibrant, eclectic look.
- Marble Tiles: Marble tiles bring a classic, elegant feel to any space.
- Matte or Textured Tiles: These add a subtle, modern touch and are great for contemporary spaces.
Final Touches for a Cozy Fireplace
After you’ve completed your fireplace makeover, don’t forget to add cozy finishing touches. Arrange soft blankets and pillows nearby for warmth, and place a basket for extra firewood within reach. You might even add fairy lights or candles around the fireplace for a soft glow, enhancing the cozy atmosphere.
With these easy DIY ideas, you can transform your fireplace into a stunning focal point that invites warmth and relaxation. Renting tools from Garage101 makes these projects accessible, affordable, and achievable for any DIY enthusiast. So grab your supplies, roll up your sleeves, and create a fireplace area that’s perfect for the cold days ahead!


