Pumpkin carving is one of the most beloved Halloween traditions, offering fun and creativity for people of all ages. Whether you’re carving simple faces or intricate designs, creating a designated pumpkin carving station can elevate the experience, making it more enjoyable and mess-free. A well-organized carving station ensures everyone has the right tools, enough space, and a comfortable setup for hours of Halloween fun.
With tools rented from Garage101, you can set up the ultimate pumpkin carving station for family and friends without needing to buy expensive equipment. From carving tools to lighting for display, here’s a step-by-step guide on creating a pumpkin carving setup that will make this Halloween unforgettable.
Step 1: Choose the Perfect Location
Choosing the right location is the first step in creating a comfortable carving station. Since pumpkin carving can get messy, it’s best to set up in a place where cleaning up will be easy.
Outdoor vs. Indoor Setup
- Outdoor Setup: If the weather permits, setting up outdoors is ideal. You can avoid worrying about pumpkin guts and seeds getting all over your floors, and cleanup is a breeze. A backyard, patio, or even the garage can work perfectly.
- Indoor Setup: If you’re carving indoors, choose a spot that’s easy to clean, like a tiled or hardwood floor, and be sure to protect your surfaces with drop cloths or old tablecloths.
Comfortable Seating and Lighting
Pumpkin carving can take time, so make sure everyone has a comfortable place to sit. Also, ensure there’s good lighting, especially if carving in the evening. Consider using a work light from Garage101 to provide bright, adjustable lighting, helping everyone see the intricate details as they carve.
Step 2: Gather the Essential Carving Tools
Using the right tools makes pumpkin carving easier, safer, and more enjoyable. Instead of buying an array of carving tools, you can rent high-quality tools from Garage101, ensuring a professional and fun experience for all.
Recommended Tools to Rent from Garage101
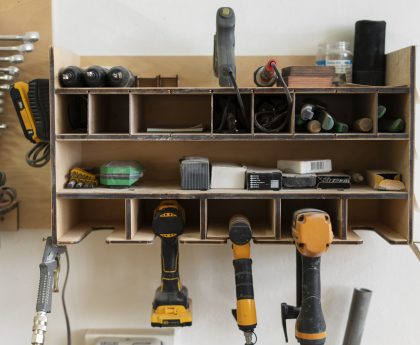
- Dremel Tool: For intricate designs and detailed carving, a Dremel tool is a game-changer. It allows for precision cutting, making it easier to create patterns and add depth to your designs.
- Power Drill: A drill can be used to create perfect circular shapes or to add holes for unique lighting effects. With various drill bit sizes, you can achieve different patterns with ease.
- Jigsaw: For advanced designs or if you’re carving a large pumpkin, a jigsaw can help cut through the thicker parts quickly. This is especially useful if you’re planning a big centerpiece pumpkin with complex cuts.
- Pumpkin Scooping Tool: Removing the pumpkin guts is often the messiest part, but with a scooping tool, it’s much easier and faster. Look for large, sturdy scoops that can handle the job efficiently.
Basic Tools to Include
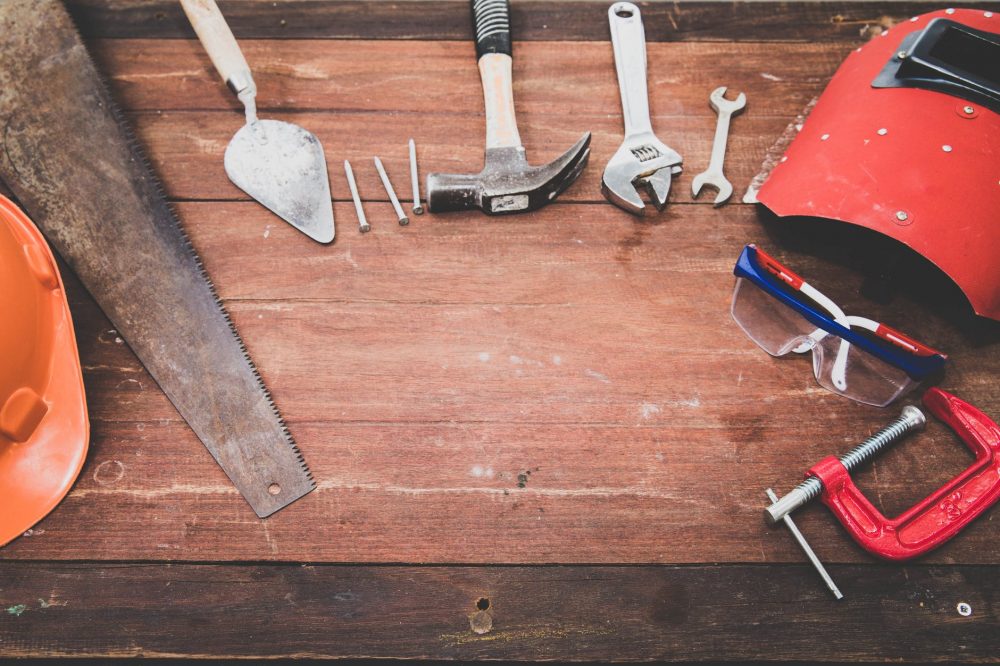
- Carving Knives: Offer a mix of small and large knives for different carving needs. Serrated knives work well for cutting through pumpkin skin, while smaller knives are good for detail work.
- Markers and Stencils: Provide markers for drawing designs on the pumpkins before carving. You can also print out Halloween-themed stencils for those who prefer guided designs.
- Spoons and Scoops: For those who prefer manual scooping, have large metal spoons and scoops available.
Safety First
If you’re setting up a station for kids or beginners, include carving kits with small, safe carving tools designed specifically for children. Renting professional tools is great for adults, but young children should use kid-friendly equipment for their safety.
Step 3: Set Up a Mess-Free Carving Station
Pumpkin carving can be messy, so preparing the space with some preventive measures will make cleanup much easier.
Protect Your Surfaces
- Table Coverings: Use disposable tablecloths or plastic drop cloths to cover tables and other surfaces. This makes cleaning up pumpkin bits and juice quick and easy—simply roll up the tablecloth and dispose of it when you’re done.
- Trash Bags: Have large trash bags handy to collect pumpkin guts, seeds, and any discarded pumpkin parts. Encourage everyone to scoop their pumpkin waste directly into the bags.
- Bowls for Seeds: Pumpkin seeds make a tasty snack when roasted, so set up bowls where people can collect seeds separately from the pumpkin guts. After carving, you can wash the seeds and roast them for a delicious treat.
Organize the Tools
Set up tool stations around the table to ensure that everyone has easy access to the tools they need. Organize tools like knives, scoops, and markers into bins or trays so they’re easily accessible but kept safe and tidy.
Step 4: Decorate and Personalize the Space
Adding Halloween decorations to your carving station will make the experience even more festive and fun. Consider using simple decorations to set the mood and spark creativity.
Fun Ideas for Decorating
- Halloween Table Centerpieces: Add a few Halloween-themed decorations like mini pumpkins, faux spider webs, or small candles to create a spooky ambiance.
- Themed Banners or Balloons: String up Halloween banners or balloons around the station to make the area more inviting for everyone.
- Pumpkin Carving Inspiration Board: Print out photos or display images of carved pumpkins with unique designs to inspire creativity. You can even include carving templates or step-by-step photos for specific designs.
Step 5: Set Up a Display Area for Finished Pumpkins
Once the pumpkins are carved, displaying them properly is key to showing off everyone’s hard work. Set up a display area where everyone can place their completed pumpkins and enjoy the spooky creations.
Tips for Setting Up a Display Area
- Use a Flat, Stable Surface: Choose a surface that can hold multiple pumpkins securely, such as a sturdy table or an outdoor ledge.
- Add Lighting: Place battery-operated LED candles or tea lights inside the pumpkins to illuminate them. Real candles can be a fire hazard, especially if left unattended, so LED lights are a safer option.
- Create a Photo Spot: Set up a photo backdrop with Halloween decorations where people can pose with their finished pumpkins. This is a great way to capture memories and makes for fun family photos.
Step 6: Organize Cleanup Supplies
After a fun carving session, cleanup is a breeze if you’re prepared. Have all your cleaning supplies ready to go once the carving is finished.
Recommended Cleaning Supplies
- Disposable Gloves: Encourage everyone to wear disposable gloves while carving. It not only keeps their hands clean but also makes cleanup easier.
- Paper Towels and Wipes: Use paper towels to wipe up any stray pumpkin juice or guts from the table.
- Brooms and Dustpans: For outdoor setups, a broom and dustpan make quick work of any fallen pumpkin bits on the ground.
- Sanitizing Spray: Once everything is cleared away, spray down tables and surfaces to ensure they’re clean and ready for next use.
Step 7: Wrap Up with Snacks and Drinks
After carving, gather everyone together to relax and enjoy the Halloween spirit. Consider serving up seasonal snacks and drinks to end the event on a high note.
Snack Ideas
- Roasted Pumpkin Seeds: Use the seeds collected during carving and roast them with a bit of oil and salt for a tasty snack.
- Halloween-Themed Treats: Cookies, cupcakes, or even hot apple cider will help set the Halloween mood and keep everyone happy after all that carving.
Setting up a pumpkin carving station doesn’t have to be complicated or expensive. By renting essential tools from Garage101, you can provide high-quality equipment for family and friends to enjoy, without the need for a large investment. A dedicated, organized carving space with fun decorations and easy access to tools creates an enjoyable experience for everyone involved. So this Halloween, go all out and build the ultimate pumpkin carving station—one that’s complete with comfort, creativity, and a bit of spooky flair.
With a setup like this, your pumpkin carving station will be the highlight of your Halloween celebrations. Happy carving!


