As the leaves begin to change and the air turns crisp, autumn offers the perfect opportunity to refresh your outdoor space. Fall is not only a great time for cleaning up your yard, but it’s also ideal for adding cozy, creative touches that will enhance your home’s curb appeal and make your backyard more inviting for gatherings. Whether you’re preparing for bonfire nights, enjoying cooler weather on your patio, or getting your garden ready for next spring, there are plenty of DIY projects you can tackle this season. And the best part? You don’t need to invest in expensive tools to get the job done—Garage101 has you covered with a wide range of affordable rental tools.
In this blog post, we’ll explore some fun and practical DIY projects you can undertake this fall, including building a firewood rack, creating a cozy outdoor seating area, and installing garden edging. These projects will enhance the functionality and beauty of your outdoor space and give you a sense of accomplishment as you prepare for the colder months ahead.
1. Build a Firewood Rack
With cooler evenings ahead, many homeowners turn to their fire pits, wood stoves, or fireplaces to create warmth and ambiance. But storing firewood can be a hassle if you don’t have a proper place to stack it. Building a firewood rack is an easy and practical fall project that will help you organize your firewood, keep it dry, and add a rustic touch to your outdoor space.
Tools You’ll Need (Rentable from Garage101):
- Circular saw
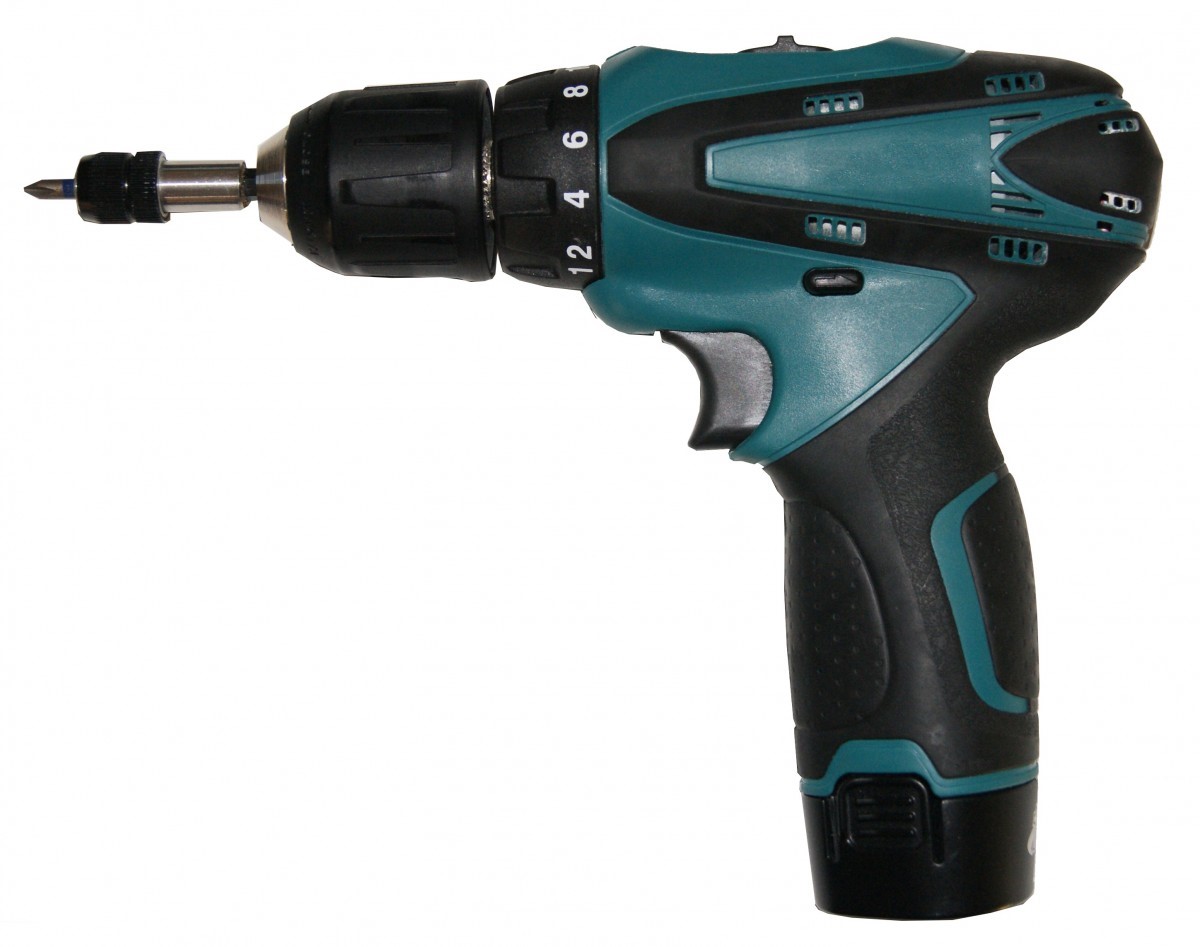
- Power drill
- Measuring tape
- Clamps
- Level
Materials:
- Pressure-treated lumber or metal brackets
- Wood screws
- Weather-resistant sealant (optional)
Step-by-Step Instructions:
- Choose a Location: Select a spot in your yard that’s close to your fire pit or house, but not directly against any walls to allow airflow around the wood. Ideally, it should be a well-drained area to prevent the wood from sitting in water.
- Cut the Lumber: Measure and cut your lumber to the desired size for the base, sides, and supports of your firewood rack. A typical firewood rack should be at least 4 feet long and 2 feet deep to hold a decent amount of wood.
- Assemble the Frame: Start by building the base of the rack. Screw the pieces together using a power drill. Then, attach the side supports and crossbars, making sure everything is level and secure.
- Seal the Wood (Optional): If you want to ensure the rack withstands the elements, consider applying a weather-resistant sealant to protect the wood.
- Stack Your Firewood: Once your firewood rack is built, stack your firewood neatly on the rack, making sure to leave space for airflow between the logs.
Tips for Success:
- Ventilation is key: Proper airflow helps keep your firewood dry and prevents mold from growing. Make sure the rack is slightly elevated off the ground.
- Add a cover: Consider using a tarp or a custom firewood rack cover to keep your wood dry during heavy rain or snow.
2. Create a Cozy Outdoor Seating Area
Fall is the perfect time to gather outdoors around a fire pit, roast marshmallows, or simply enjoy the fresh air. If you’ve been thinking about upgrading your outdoor seating area, now is the time to do it! This DIY project will help you create a comfortable and inviting space where you can relax with friends and family.
Tools You’ll Need (Rentable from Garage101):
- Power drill
- Saw (circular or miter saw)
- Level
- Measuring tape
- Shovel (if adding a fire pit)
Materials:
- Outdoor furniture (or build your own benches)
- Cushions, blankets, or throws
- Fire pit materials (stone, brick, or metal)
- String lights or lanterns
Step-by-Step Instructions:
- Design Your Space: Decide where you want to create your seating area. If you don’t already have a designated space, consider laying out pavers or gravel to define the area. You can also use a pergola or canopy for added comfort and shade.
- Build or Buy Seating: If you want to build your own benches or chairs, rent a saw and power drill from Garage101. Wooden benches are a great option for DIYers and can be customized with stain or paint. Alternatively, invest in comfortable outdoor furniture that suits your style.
- Install a Fire Pit: If you don’t already have a fire pit, you can easily create one by digging a shallow pit and lining it with fire-resistant materials like stone or metal. Rent a shovel and other necessary tools to make this project quick and easy.
- Add Cozy Touches: Once your seating is in place, add outdoor cushions, blankets, and throws to make the area more comfortable for cooler fall nights. String lights or lanterns can add a soft, inviting glow.
Tips for Success:
- Layer for comfort: Include plenty of cozy textiles like throw pillows, blankets, and rugs to make the space feel warm and inviting.
- Think about heat: If a fire pit isn’t an option, consider renting an outdoor heater or using portable heat lamps to keep the area warm on chilly nights.
3. Install Garden Edging
Installing garden edging is a simple yet effective way to give your yard a polished look. Garden edging not only defines the borders between your lawn and garden beds, but it also helps keep grass from creeping into your flower beds and makes mowing easier. Plus, this project can add an aesthetic touch to your landscaping.
Tools You’ll Need (Rentable from Garage101):
- Shovel
- Edger
- Mallet
- Level
Materials:
- Edging materials (stone, metal, wood, or plastic)
- Landscape fabric (optional)
Step-by-Step Instructions:
- Plan Your Layout: Before you start digging, decide where you want to install the edging. Use string or a garden hose to outline the shape of your garden beds, walkways, or paths.
- Dig a Trench: Using a shovel or edger, dig a shallow trench where you want the edging to go. The trench should be deep enough to hold the edging material securely in place, typically about 3-6 inches deep depending on the material.
- Install the Edging: Place the edging material into the trench, making sure it’s level and secure. Use a mallet to gently tap it into place if necessary. For flexible materials like plastic or metal, make sure to bend and shape them to fit the curves of your garden beds.
- Secure the Edging: If you’re using metal or plastic edging, use stakes or pegs to secure it in place. For stone or brick edging, simply make sure each piece is firmly placed in the trench.
- Add Landscape Fabric (Optional): To prevent weeds from growing up between the edging and your garden beds, you can lay down landscape fabric along the trench before adding the edging.
Tips for Success:
- Match the material to your garden style: Choose edging materials that complement the overall aesthetic of your yard. For example, natural stone works well in cottage gardens, while metal or wood edging is ideal for modern, minimalist designs.
- Keep it low-maintenance: Edging materials like stone or metal require little maintenance, making them a durable choice for long-term use.
Fall is the perfect season for sprucing up your outdoor space with creative and practical DIY projects. Whether you’re building a firewood rack to keep your logs organized, creating a cozy seating area for autumn gatherings, or installing garden edging to define your landscaping, these projects are a great way to enhance your yard’s functionality and beauty.
With tools rented from Garage101, you don’t have to worry about purchasing expensive equipment for these seasonal projects. Renting gives you access to professional-grade tools at a fraction of the cost, making your fall DIY endeavors easier, more efficient, and affordable. So, why wait? Start planning your next outdoor project today and make your yard the go-to spot for fall relaxation and fun!


