When it comes to home improvement, many people believe that a big budget is necessary to make significant changes. However, the reality is that impactful home upgrades don’t have to drain your wallet. With the right tools and a bit of creativity, you can make affordable changes that drastically improve the look and feel of your home. Thanks to Garage101, you don’t even need to buy expensive tools to complete these projects. Renting tools allows you to tackle your DIY goals without breaking the bank, and still achieve professional-quality results.
In this blog post, we’ll explore several budget-friendly home improvement projects you can complete using tools rented from Garage101. These projects range from installing new cabinet hardware to adding a statement wall with wainscoting, each designed to elevate your home’s style without a hefty price tag.
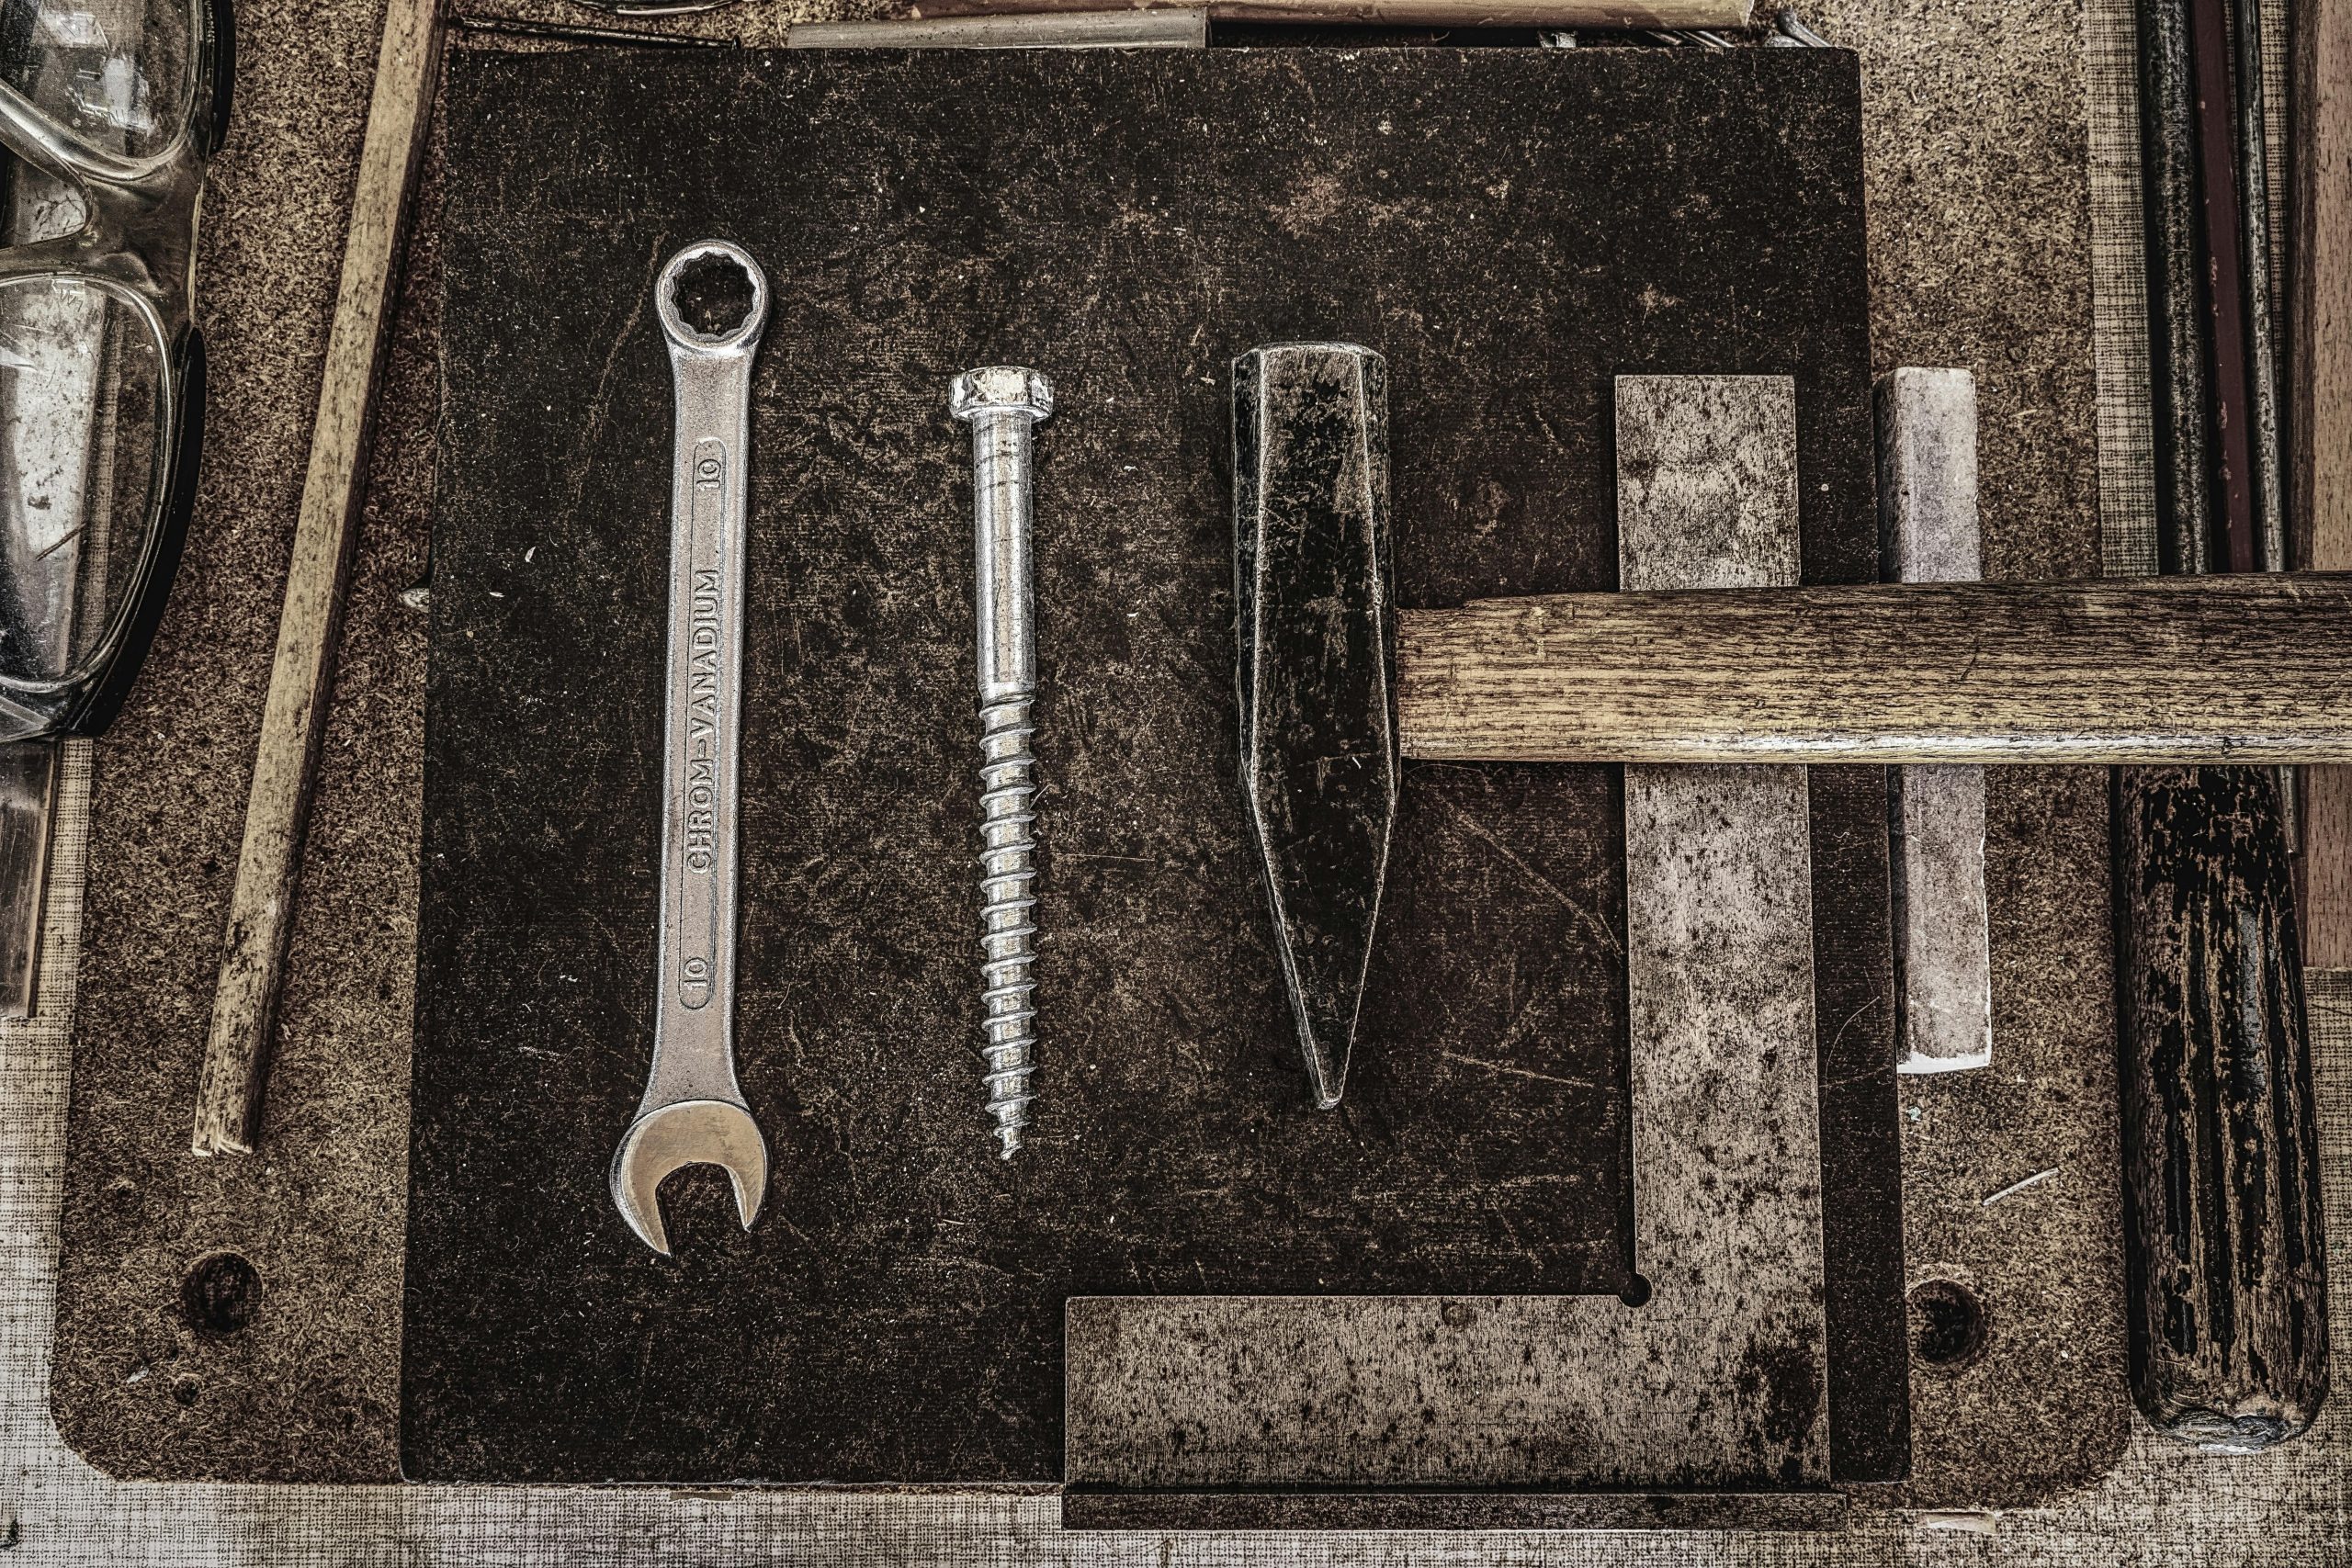
1. Installing New Cabinet Hardware
One of the quickest and easiest ways to give your kitchen or bathroom a facelift is by updating the cabinet hardware. Old, outdated knobs and handles can make cabinets look tired, but swapping them for new, modern hardware instantly adds a fresh look.
Tools You’ll Need:
- Drill
- Screwdriver set
- Measuring tape
- Level
Step-by-Step Instructions:
- Choose Your Hardware: Start by selecting cabinet hardware that matches your desired style. Whether you prefer sleek, minimalist handles or decorative knobs, there’s a wide range of affordable options available.
- Remove Old Hardware: Using a screwdriver, remove the old cabinet knobs or handles. Make sure to keep the screws in case they can be reused for the new hardware.
- Measure and Mark: If your new hardware requires different screw placement, use a measuring tape to measure and mark where the new holes need to be drilled. Use a level to ensure that the holes are evenly spaced and aligned.
- Drill New Holes: Using the drill, carefully drill holes in the marked locations. Be sure to drill slowly to avoid damaging the cabinet doors or drawers.
- Install New Hardware: Attach the new hardware using a screwdriver, ensuring that each piece is securely fastened and aligned properly.
Cost Impact:
Replacing cabinet hardware is one of the most affordable home upgrades, typically costing around $2 to $10 per knob or handle. By renting a drill from Garage101, you can avoid the cost of purchasing new tools, making this project budget-friendly.
2. Refinishing an Old Table
Refinishing an old table is a fantastic way to give new life to a worn-out piece of furniture. Whether it’s a family heirloom or a thrift-store find, refinishing allows you to restore the table’s beauty while adding a personalized touch to your home decor.
Tools You’ll Need:
- Sander (orbital or belt sander)
- Sandpaper (various grits)
- Paintbrushes or rags
- Stain or paint
- Wood sealer
Step-by-Step Instructions:
- Prepare the Table: Start by removing any existing paint, stain, or varnish from the table. Use sandpaper or an orbital sander to strip the surface down to the raw wood. Begin with a coarse grit to remove the old finish, then gradually work your way to a finer grit for a smooth finish.
- Clean the Surface: After sanding, wipe down the table with a damp cloth to remove any dust and debris. Make sure the surface is clean and dry before proceeding to the next step.
- Apply Stain or Paint: Choose a wood stain or paint that complements your decor. Using a paintbrush or rag, apply an even coat of stain or paint to the table, following the direction of the wood grain. Allow the stain to dry fully before applying additional coats for a deeper color.
- Seal the Table: Once the stain or paint has dried, apply a protective wood sealer to protect the table’s surface from wear and tear. This will also give the table a beautiful finish, enhancing its longevity.
Cost Impact:
Refinishing a table is much more affordable than buying a new one. Renting a sander from Garage101 helps reduce the upfront cost, and the materials (stain, paint, and sealer) are relatively inexpensive, typically ranging from $20 to $50.
3. Adding a Statement Wall with Wainscoting
If you want to add elegance and architectural interest to a room, wainscoting is an excellent option. This decorative wall paneling adds dimension and texture to any space, making it perfect for entryways, dining rooms, or even bedrooms.
Tools You’ll Need:
- Miter saw
- Level
- Measuring tape
- Nail gun
- Caulk gun
Step-by-Step Instructions:
- Plan Your Wainscoting Layout: Decide how high you want the wainscoting to go—usually between 36 and 42 inches from the floor. Measure the height and length of the wall to determine how much material you’ll need.
- Cut the Panels and Trim: Using the miter saw, cut the wainscoting panels and trim pieces to the appropriate sizes. Double-check all measurements to ensure a precise fit.
- Install the Panels: Start at one end of the wall and work your way across. Use a nail gun to attach the panels to the wall, making sure each panel is level before securing it in place.
- Add the Trim: Once the panels are up, attach the trim pieces (baseboards and chair rail) along the top and bottom of the panels. Use the caulk gun to fill in any gaps between the wall and the trim.
- Paint the Wainscoting: Finish the project by painting the wainscoting in a color that complements the room’s decor. White is a classic choice, but bold colors can also make a statement.
Cost Impact:
Wainscoting is a cost-effective way to add sophistication to any room. Renting a miter saw and nail gun from Garage101 saves you the cost of purchasing expensive tools. The total cost of materials for this project typically ranges from $100 to $300, depending on the size of the wall and the materials you choose.
4. Replacing Light Fixtures
Updating old or outdated light fixtures can dramatically improve the look and feel of any room. Whether you’re replacing a dated chandelier or installing modern pendant lights, new lighting can make your home feel brighter and more contemporary.
Tools You’ll Need:
- Voltage tester
- Screwdriver set
- Wire strippers
- Ladder
Step-by-Step Instructions:
- Turn Off Power: Before starting, turn off the power to the light fixture at the circuit breaker to ensure safety. Use a voltage tester to confirm that no electricity is running to the fixture.
- Remove the Old Fixture: Use a screwdriver to remove the screws holding the old fixture in place. Carefully disconnect the wires and set the old fixture aside.
- Install the New Fixture: Follow the manufacturer’s instructions to wire the new light fixture. Connect the wires from the fixture to the wires in the ceiling, using wire nuts to secure the connections. Once the wiring is complete, attach the new fixture to the ceiling.
- Turn the Power Back On: After the fixture is securely installed, turn the power back on and test the new light to ensure it’s working properly.
Cost Impact:
Replacing light fixtures can have a huge impact on the aesthetics of your home. Renting a voltage tester and wire strippers from Garage101 allows you to safely complete the project without investing in tools you may only use once. Light fixtures vary in price, but this project can typically be completed for $50 to $200 depending on the fixture you choose.
5. Painting an Accent Wall
Painting is one of the most affordable and impactful ways to change the look of a room. An accent wall can create a focal point, add depth to a space, and bring a pop of color into your home.
Tools You’ll Need:
- Paint rollers
- Paintbrushes
- Painter’s tape
- Drop cloths
Step-by-Step Instructions:
- Choose Your Color: Select a bold or contrasting color for the accent wall. Make sure the color complements the other walls in the room and adds visual interest.
- Prep the Wall: Cover the floor with drop cloths and use painter’s tape to mask off areas you don’t want to paint, such as baseboards or door frames.
- Apply the Paint: Use a paint roller to apply an even coat of paint to the wall. Start in the middle of the wall and work your way outwards. Use a brush to cut in around the edges.
- Apply a Second Coat: Once the first coat is dry, apply a second coat for a more even finish. Allow the paint to dry completely before removing the painter’s tape.
Cost Impact:
Painting an accent wall is an inexpensive way to transform a room. By renting high-quality rollers and brushes from Garage101, you can achieve a professional finish without the cost of buying new tools. The overall cost for this project typically ranges from $20 to $60.
Home improvement projects don’t have to be expensive to make a big impact. With the right tools from Garage101, you can easily complete budget-friendly DIY upgrades that transform your living space. From installing new cabinet hardware to adding a statement wall with wainscoting, these projects can enhance your home’s style and functionality without breaking the bank. Start your next DIY project today with affordable tool rentals from Garage101 and see how small changes can make a huge difference!