Your backyard is more than just a patch of grass—it’s a place where you can unwind, entertain, and make memories with friends and family. Whether you have a sprawling lawn or a cozy garden, outdoor spaces have the potential to become beautiful extensions of your home. If you’re thinking about upgrading your yard, you don’t need to hire professionals or buy expensive tools. With Garage101, you can rent the tools you need to tackle any DIY project, turning your outdoor space into the oasis you’ve always wanted.
In this post, we’ll explore three exciting DIY projects—building a raised garden bed, creating a patio with pavers, and installing a custom fire pit—all of which can be done with tools rented from Garage101. By following these steps, you’ll have a beautiful and functional outdoor space in no time.
1. Building a Raised Garden Bed
A raised garden bed is a fantastic addition to any backyard. Not only does it allow you to grow fresh vegetables, herbs, and flowers, but it also helps improve soil drainage and prevents weeds from taking over your garden. Plus, it adds an aesthetically pleasing focal point to your yard.
Tools You’ll Need:
- Circular saw
- Cordless drill
- Level
- Measuring tape
- Clamps
Materials:
- Lumber (untreated cedar is ideal)
- Wood screws
- Soil
- Plants or seeds
Step-by-Step Instructions:
- Choose the Location: Select a sunny spot in your yard for the raised garden bed. Ensure that the area gets at least 6 hours of sunlight per day and is close to a water source.
- Measure and Cut the Lumber: Using a measuring tape, determine the dimensions for your garden bed. Most raised garden beds are about 3-4 feet wide and 6-8 feet long. Mark the lumber and use the circular saw to cut the pieces for the sides and ends.
- Assemble the Frame: Lay the cut pieces on a flat surface. With the help of clamps, hold the wood in place while you drill pilot holes at the corners. Secure the pieces with wood screws to form a sturdy frame.
- Prepare the Ground: Clear the area where the bed will be placed by removing grass, weeds, and rocks. Use a level to ensure the ground is even, which will help prevent the bed from leaning over time.
- Position the Frame and Fill with Soil: Place the assembled frame in the prepared area. Fill the bed with a mixture of high-quality soil and compost, ensuring the soil level reaches just below the top of the frame.
- Plant and Water: Now comes the fun part! Plant your chosen vegetables, flowers, or herbs, following proper spacing guidelines. Water thoroughly and enjoy watching your garden flourish.
Tips for Success:
- Choose rot-resistant wood like cedar or redwood to ensure your raised bed lasts for years.
- For better drainage, line the bottom of the bed with gravel before adding soil.
2. Creating a Patio with Pavers
A patio is a great way to enhance your backyard, providing a designated space for outdoor dining, entertaining, or simply relaxing. Installing a patio with pavers is easier than you might think, especially when you rent the right tools from Garage101.
Tools You’ll Need:
- Plate compactor (for leveling the ground)
- Circular saw with a masonry blade (for cutting pavers)
- Shovel
- Rubber mallet
- Level
Materials:
- Pavers
- Gravel
- Sand
- Edging material
Step-by-Step Instructions:
- Plan Your Patio: Determine the size and shape of your patio. Use marking paint to outline the area where the patio will go. Make sure to select a spot that is level and drains well to avoid water pooling on the surface.
- Excavate the Area: Using a shovel, excavate the area to a depth of about 6-8 inches. This depth allows for a layer of gravel, sand, and pavers. Ensure the bottom is even by checking with a level as you go.
- Add Gravel and Sand: Spread a 4-6 inch layer of gravel evenly across the bottom of the excavated area. Compact it thoroughly with a plate compactor to create a solid base. Afterward, spread a 1-2 inch layer of sand on top, smoothing it out with a straight edge or the back of a shovel.
- Lay the Pavers: Start in one corner of the patio and lay the pavers in your chosen pattern. Use a rubber mallet to tap each paver into the sand, ensuring they are level and firmly in place. Continue laying pavers across the entire patio, checking regularly with a level.
- Cut Pavers as Needed: If your patio has curved edges or obstacles like trees or posts, you may need to cut some pavers to fit. Use the circular saw with a masonry blade to carefully cut the pavers to size.
- Secure the Edges: Install edging material around the perimeter of the patio to keep the pavers from shifting over time. Secure the edging with stakes or nails.
- Fill the Gaps: Once all the pavers are in place, spread a thin layer of sand over the patio and use a broom to sweep it into the gaps between the pavers. This helps lock the pavers in place and prevents them from moving.
Tips for Success:
- Use a plate compactor to compact the gravel base before laying the sand to ensure the pavers stay in place.
- Add polymeric sand between the pavers for a stronger bond that resists weeds and insects.
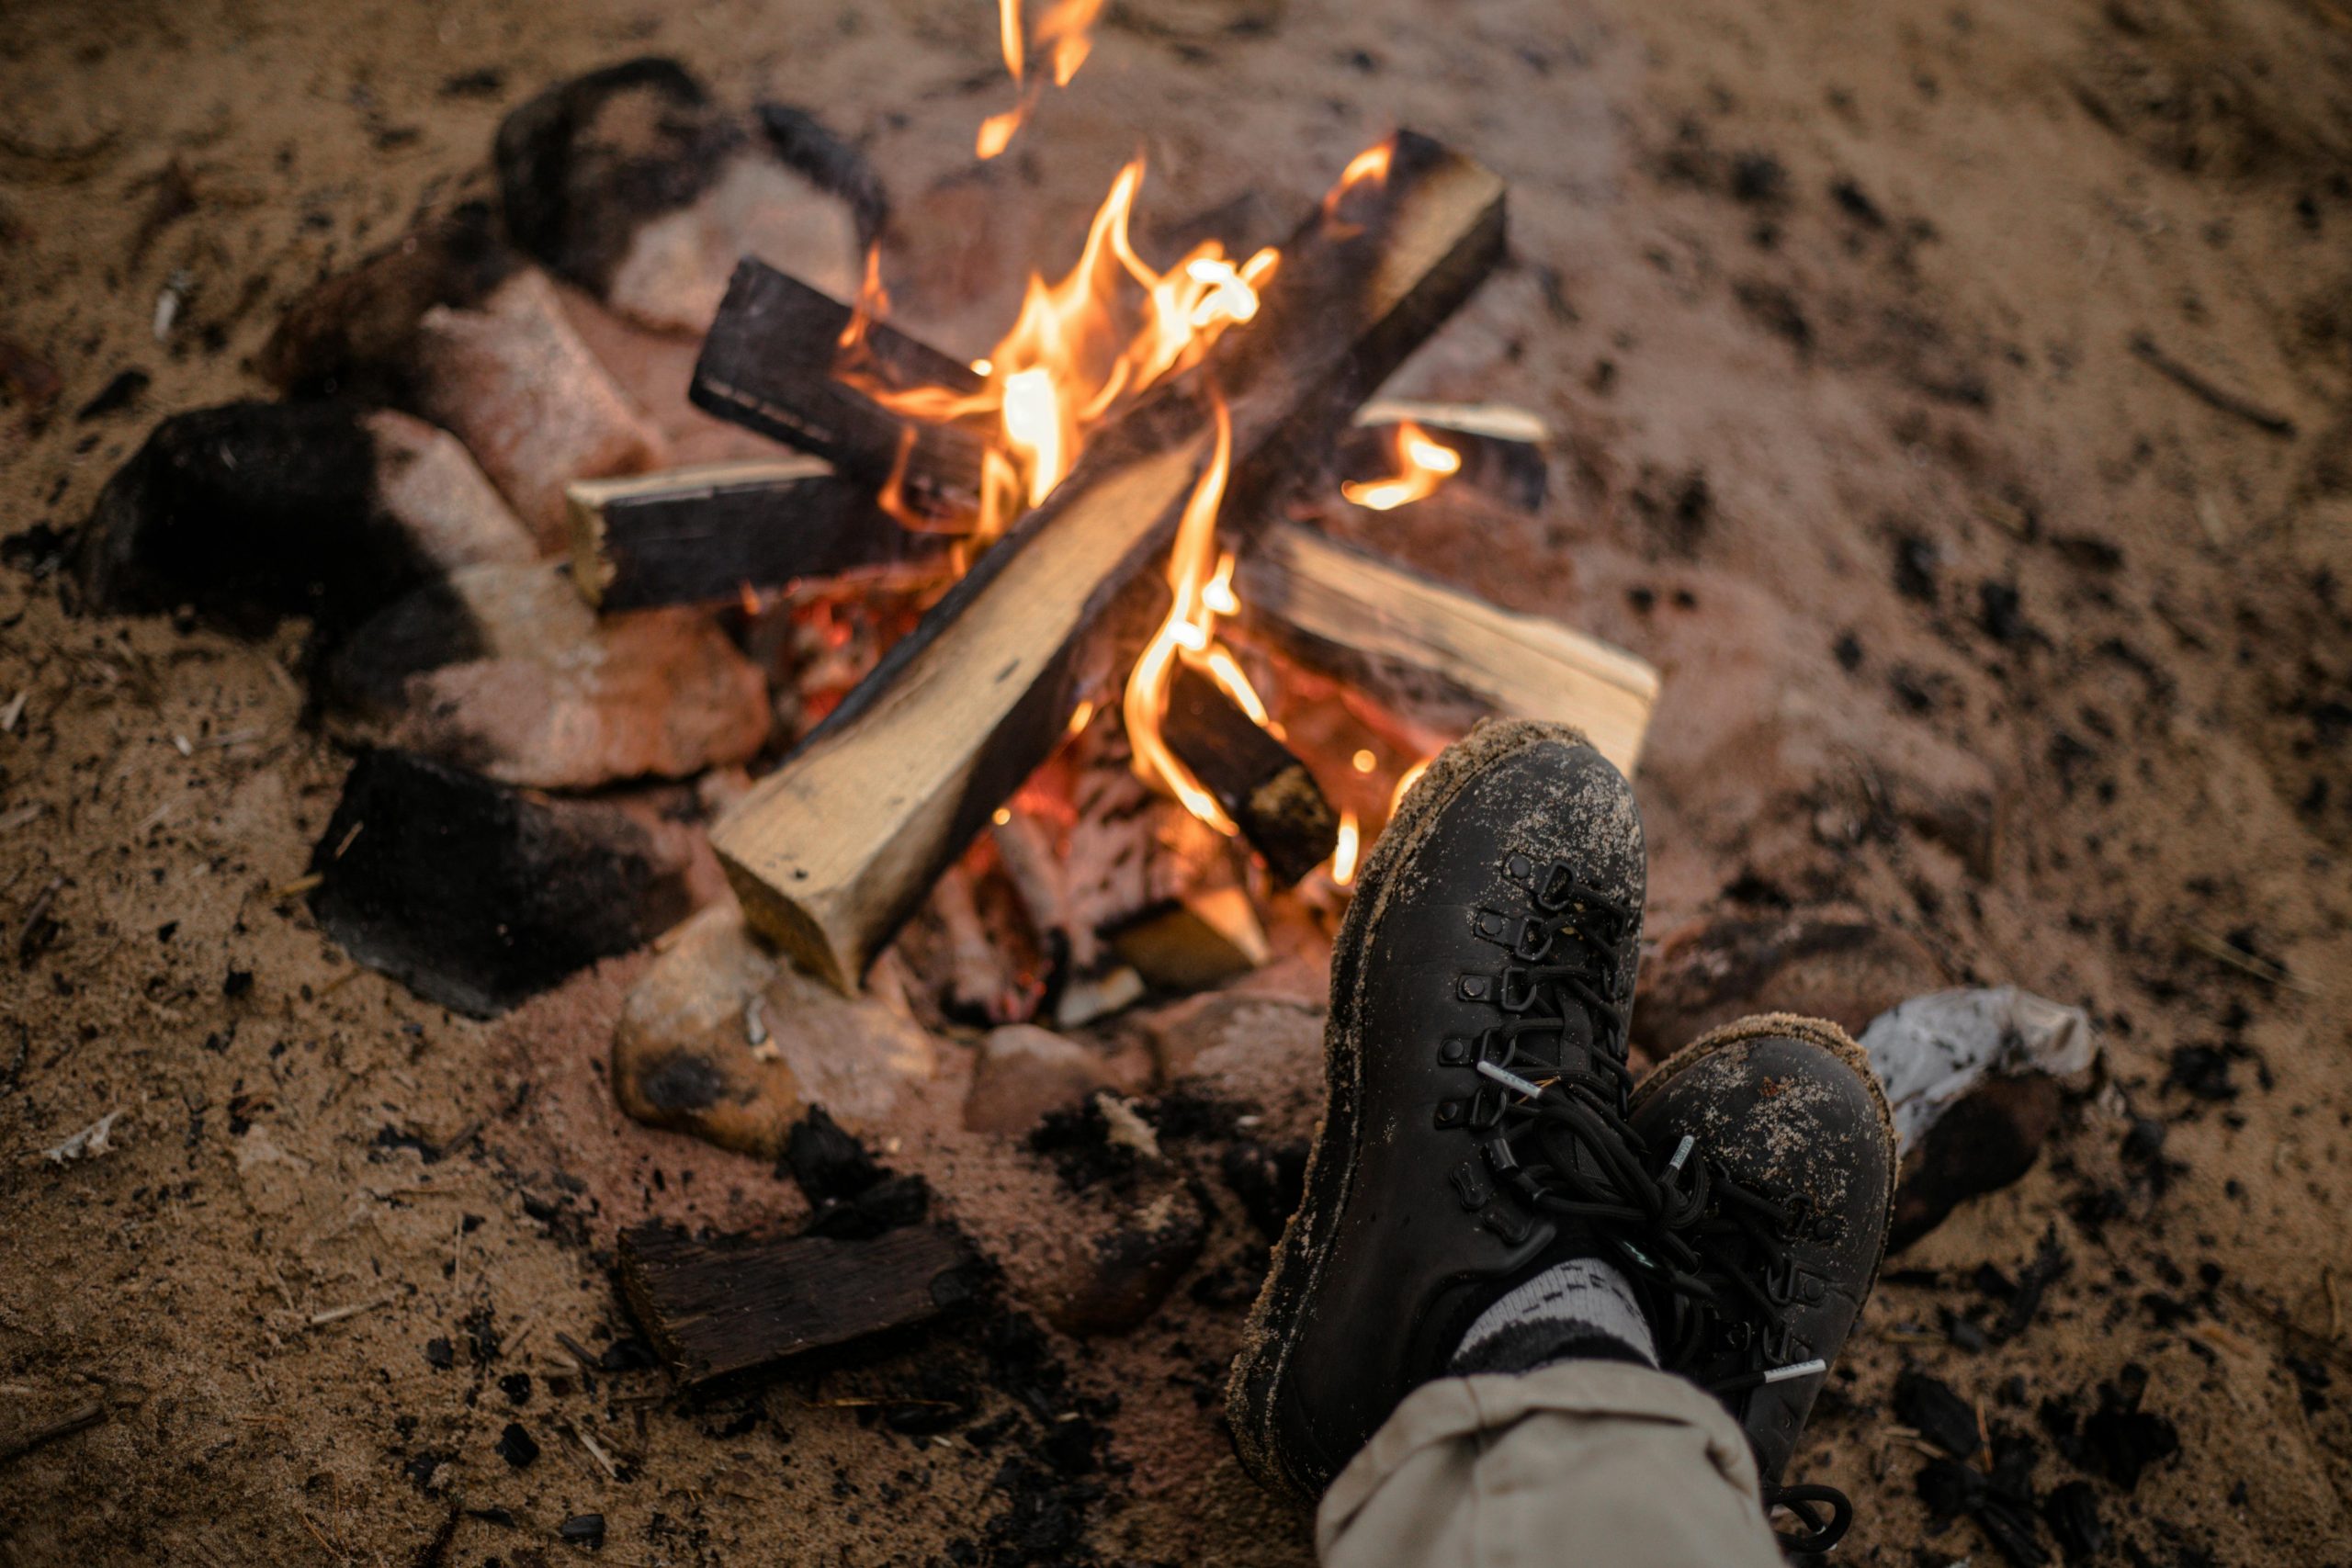
3. Installing a Custom Fire Pit
A fire pit is the ultimate backyard feature, perfect for roasting marshmallows, hosting cozy gatherings, or simply enjoying a night under the stars. With tools from Garage101, building a custom fire pit is a relatively simple and rewarding project.
Tools You’ll Need:
- Shovel
- Level
- Circular saw (with a masonry blade)
- Rubber mallet
- Tape measure
Materials:
- Fire-rated bricks or pavers
- Gravel
- Sand
- Fire pit insert (optional)
Step-by-Step Instructions:
- Choose a Location: Select a safe, level area in your backyard for the fire pit. Make sure the fire pit is at least 10-15 feet away from any structures, trees, or flammable materials.
- Mark the Area: Using a tape measure, decide on the diameter of your fire pit, typically around 36-44 inches. Mark the circumference of the fire pit with a garden hose or marking paint.
- Excavate the Area: Dig out the marked area to a depth of about 6-8 inches. Remove grass, roots, and any debris, ensuring the bottom of the pit is level.
- Create the Base: Spread a 2-3 inch layer of gravel across the bottom of the pit and compact it using a tamper or shovel. Add a layer of sand on top and smooth it out to create a solid, level base.
- Lay the Bricks: Begin laying the fire-rated bricks or pavers in a circle around the pit, using a rubber mallet to tap them into place. Continue stacking the bricks in layers, staggering the joints for added stability.
- Install a Fire Pit Insert: If you’re using a metal fire pit insert, place it inside the brick structure to help protect the bricks from direct exposure to heat. This step is optional but recommended for longevity.
- Enjoy the Fire Pit: Once the fire pit is complete, add some gravel or fire-resistant sand to the bottom of the pit. Then, grab some firewood, light a fire, and enjoy your custom outdoor feature.
Tips for Success:
- Always use fire-rated bricks or pavers to withstand high temperatures.
- Consider adding seating around the fire pit to create a cozy gathering space.
Transforming your outdoor space doesn’t have to be difficult or expensive. With the right tools from Garage101, you can take on exciting DIY projects like building a raised garden bed, creating a beautiful paver patio, or installing a custom fire pit. These projects not only enhance the beauty of your backyard but also provide a space for relaxation, entertainment, and gardening.
By renting tools from Garage101, you can complete these projects affordably and with professional-grade equipment. So, why wait? Start planning your outdoor transformation today and make your backyard the envy of the neighborhood.